Undoing an upgrade

Contents
There are two stages to reversing an upgrade: stage 1 is to re-install the previous version of the software, stage 2 is to restore your data.
The previous software version you re-install must match the data you are also going to restore. To re-install the software just follow the procedures described in Loading the new software and Loading your customisations.
There are two main options to restore your data: option 1 is to use the 'snapshot' you took during the upgrade attempt, option 2 is to use some other backup. If you did not take a snapshot then you must restore your data manually. The data required is all the files with a TPS extension from the data folder in the Match-IT installation. If you took no snapshot and have no other backup then you are committed to using the new version; there is no 'undo' path available. You will need to consult with your Match-IT supplier to resolve the situation.
Restoring your data is straightforward if you took a 'snapshot' during the upgrade attempt. To do this, start the re-installed version of the software and when the splash panel appears, click on it. The command line switches screen will appear:
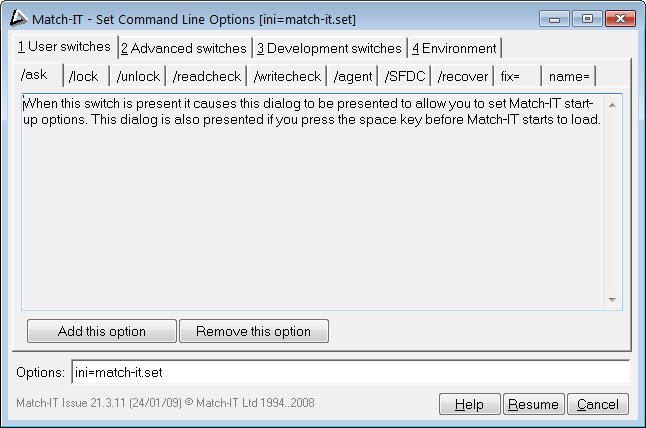
Click on the fix= tab, the screen will change to:
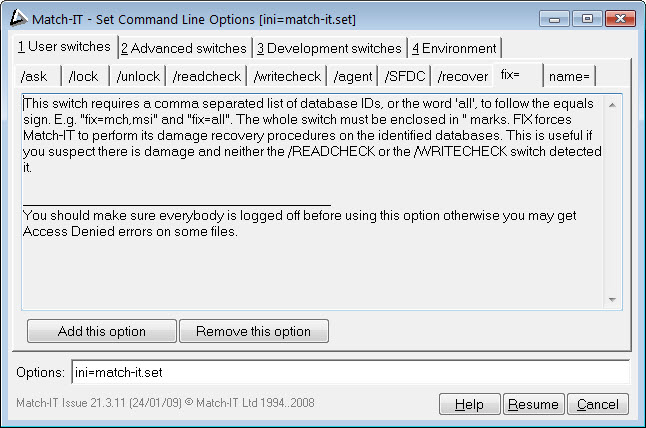
Click on Add this option then press Resume. After a short pause you will be presented with the recovery options, like this:

Select option 6 Restore it from the Match-IT internal backup and press OK. You will be presented with a list of databases to restore, similar to this:
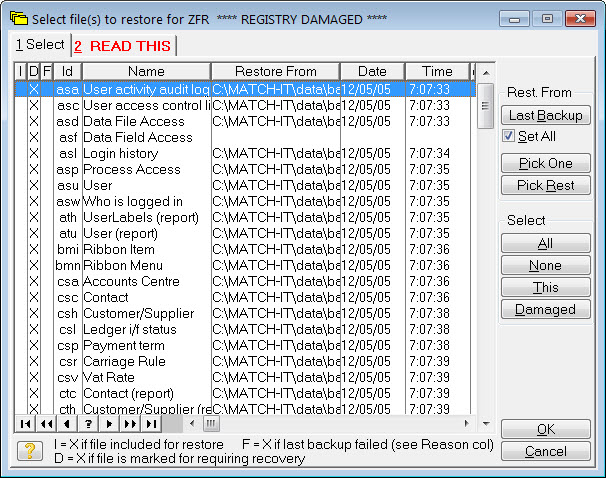
Make sure Set All is checked, then press Last Backup. This will select the most up to date copy of every database to be restored. This will normally correspond to the snapshot you took during the upgrade attempt.
If you've performed an internal backup on the new version before deciding to undo the upgrade you may have to manually select the files to restore. In this case there will be multiple backup copies of the databases available. Pressing Pick One will show you a list of all copies available for the file highlighted using the normal windows file select dialog. Make sure you can see the file details and use the date/time information as a guide to select the version you want to restore. Like this:
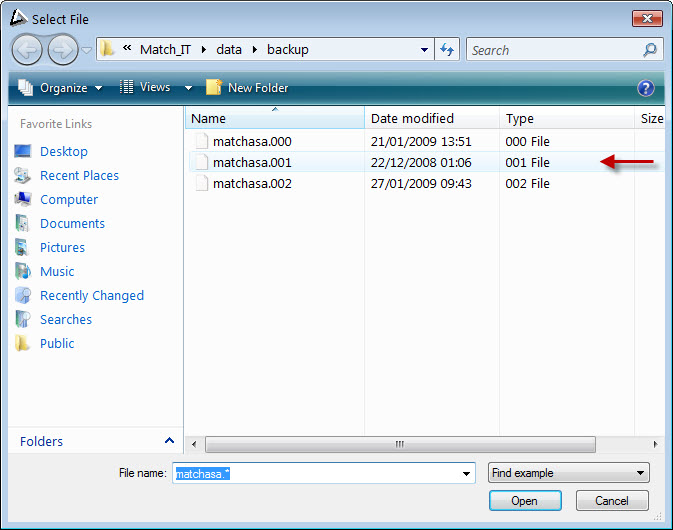
Having selected the appropriate version, press Open to return to the files to restore list. Notice the date and time columns on the file highlighted now reflect the version you picked. Now press Pick Rest to select the same version for all the other files. Notice the date and time columns change for all the other files. They will change to the closest in time versions available to the one you manually picked; the date/times may not be identical but they will be close.
Once the file version set to restore has been picked, press the select All button. An X will appear in the I column to indicate the file has been selected for restore. Finally, press OK.
Your files will now be restored. During the restore you may receive advice that a file has changed size significantly, like this:
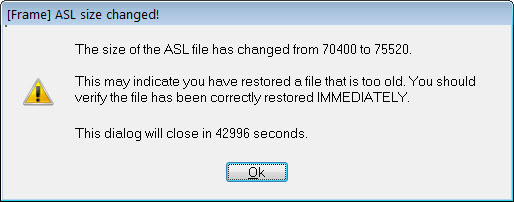
Make a note of the file ID (shown in the title - ASL in the example above). When you log-in to the recovered system you will need to convince yourself no information has been lost. For example, check the last thing you did is still there.
When the restore is complete, the software will resume it's normal start-up and you will be invited to log-in.