Loading your customisations

Contents
If you have special customisations and extensions to your system, they must be loaded (or re-loaded) after you install any new version of the software and before you run it.
If you are upgrading from a CD that has your customisations on it, the CD will show your customer ID and the Install Customisations button will be available. In this case, verify the customer ID is you and press the Install Customisations button to begin the process. If you’ve been e-mailed your customisations, just run the program you’ve been given. Either way, you’ll see a screen like this:
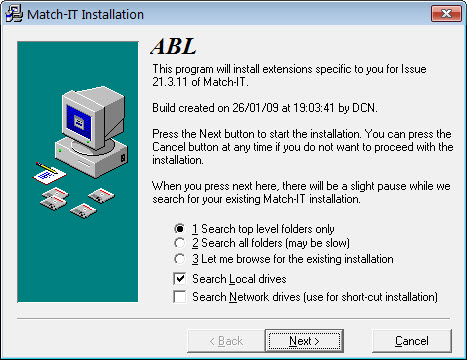
The process is very similar to installing the original Match-IT software except it only asks for a PROGRAM folder. You must verify the correct PROGRAM folder is selected. It must be the same as that selected for the original software installation.
The final confirmation screen looks like this:

Note the Install editable layouts option. Leave this off unless you are expecting revised layouts from your Match-IT supplier. If you check this option, layout changes you’ve made may be overwritten. When ready, press Next to install your customisations.
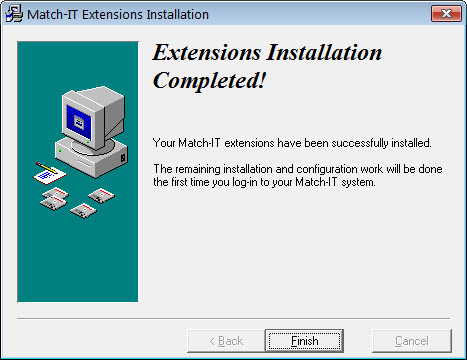
Installing customisations is usually very quick. The final screen you will see will look like this: