Return kit

Contents
Selecting the return kit option will move the controller on to a page that looks similar to this:
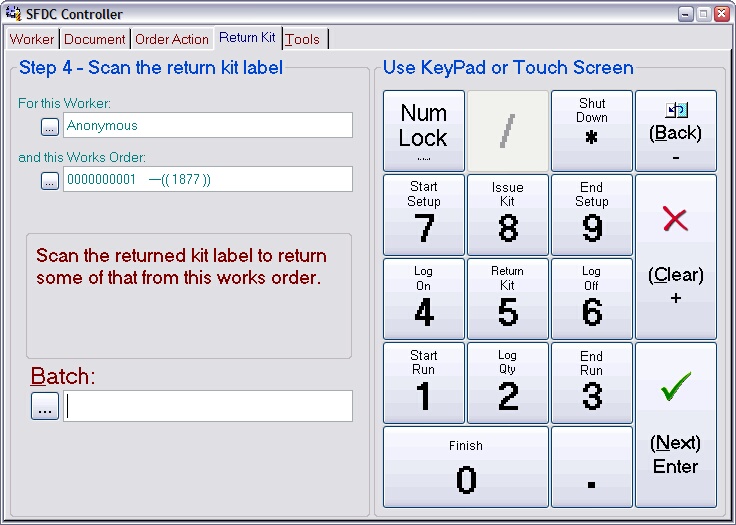
To return unused kit to stock, scan the label on the kit batch you are returning. This will usually be the same label you scanned when issuing the kit. The handling of ‘ambiguous’ batches described in the issue kit sequence also applies here.
Once you’ve scanned (and picked) a batch, the controller will move on to the next page, which will look similar to this:
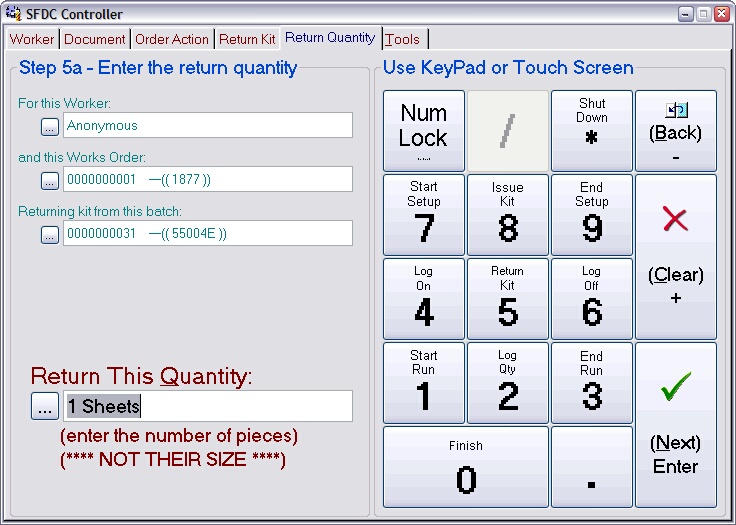
Enter the number of pieces you are returning then press Next. By ‘pieces’ here we mean the physical number of items you have in your hand of a particular size. The size is only relevant if you are returning an off-cut from a 1D or 2D material. In that context, you must make a separate return for each different size you are returning.
The controller will move on to a page that is dependent on the dimensionality of the material you are returning. For a 2D material, you will be asked to enter a length then a width. For a 1D material you will be asked to enter a length. For a 0D material you will move straight to the confirmation page.
Specifying a return length:
The page asking for a length will look similar to this:
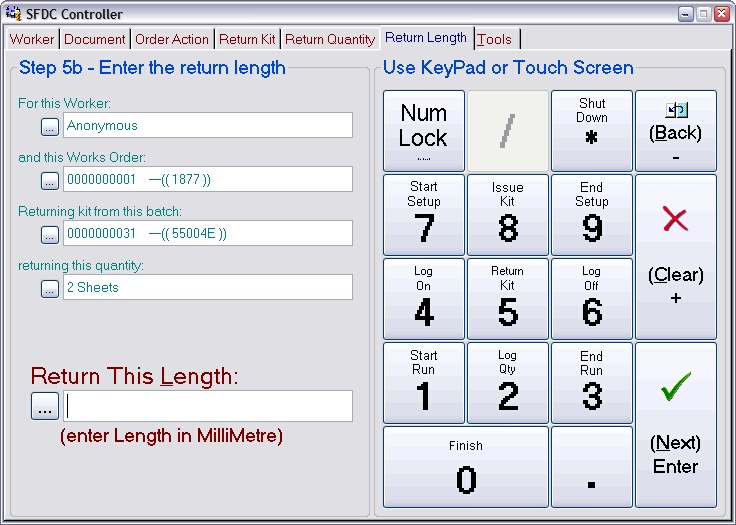
Enter the length of the pieces you are returning. The number entered should be in the units indicated (MilliMetres in this example). These units will be preset to those you defined in your preparation provided they are meaningful for the material. If not, the natural units for the material will be expected (e.g. if it's a liquid measured in litres). In all cases the hint will show what is expected.
Pressing Next will move you on to the next page. For a 2D material that will be one asking for a width, for a 1D material it will be the final confirmation page.
Specifying a return width:
The page asking for a width will look similar to this:
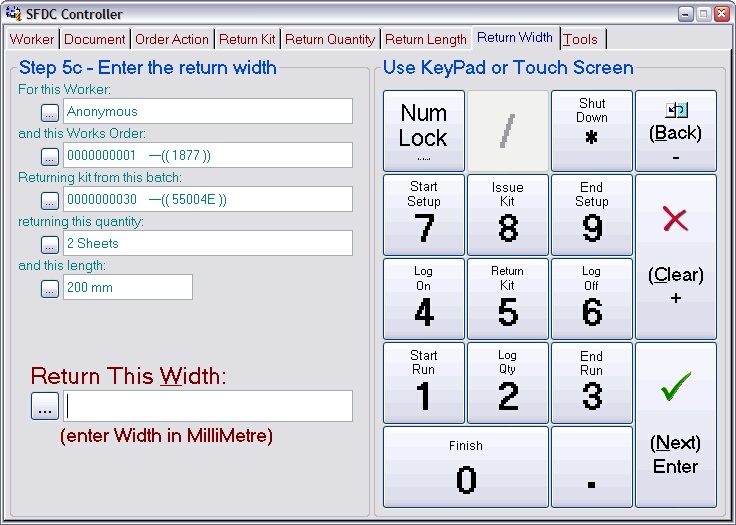
Enter the width of the pieces you are returning and press Next. The discussion about units given above also applies here. The controller will move on to the final confirmation page.
Confirming the return:
The page asking for a final confirmation will look similar to this:
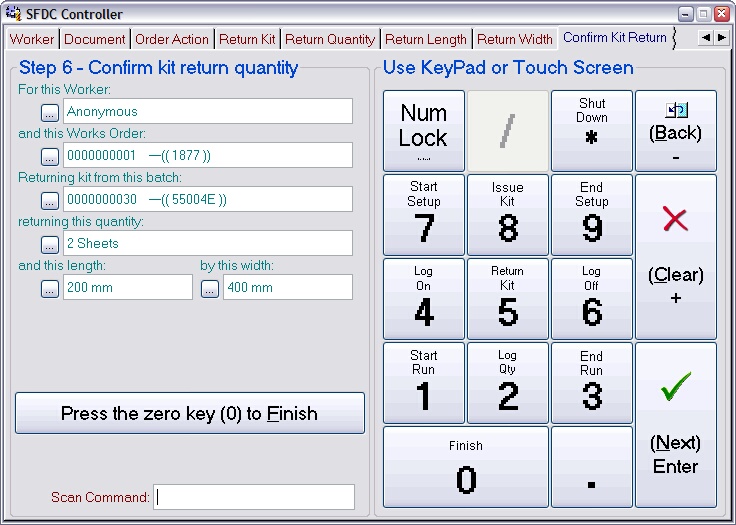
Press the 0 key to confirm the return. The controller will return to the front page ready for the next worker ID scan. Press the Back key to return to previous pages to review or edit them.
Once you confirm this action, a batch record will be created for the return and it will appear in the returns list for the works order.