Overriding printer locations

Contents
Whenever you perform an action that will cause a document to be created, a confirm dialog will be shown similar to this:
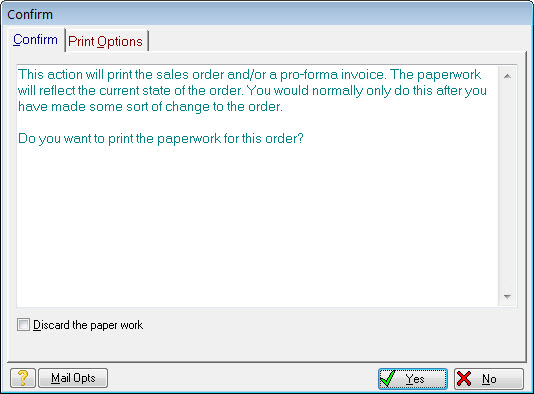
If you just select ![]() the document will be created and automatically sent to the usual printer nominated for the document type.
the document will be created and automatically sent to the usual printer nominated for the document type.
If you want it to go somewhere different this time, first select the Print Options tab. The options selector will be shown:
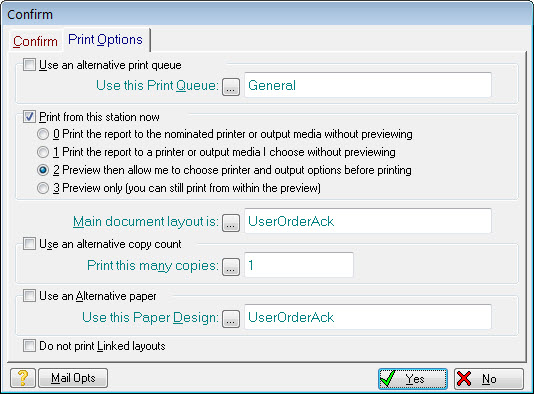
Check the Use alternative print queue option. When this is checked the Use this Print Queue prompt can be used to select another printer. Pressing its ellipsis will show you a list of print queues to choose from:
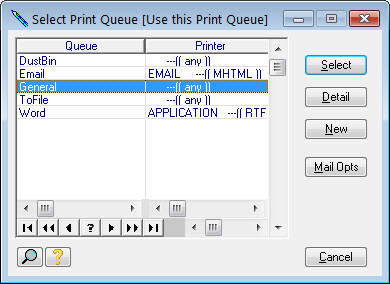
If the one you want is not in the list you can easily create a new one by pressing the New button. A form will be shown like this:
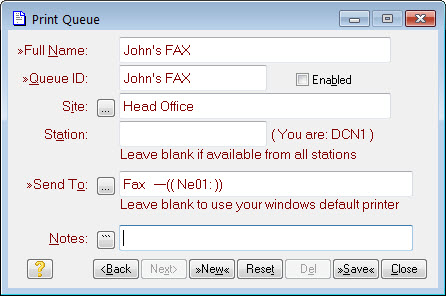
You should use a Full Name and Queue ID that makes it clear that this is a special entry and not for general use. You can usually leave the Site and Station fields as they are. Select where you want entries in the queue to be sent to by pressing the Send To ellipsis. A form will be shown like this:
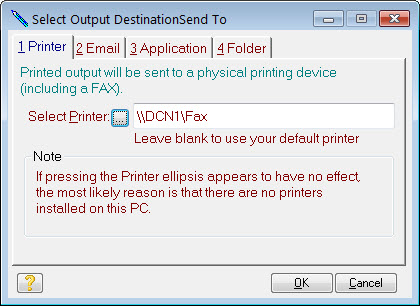
Pick the printer you want by pressing the Select Printer ellipsis.
You will be presented with the usual Windows printer selection screen. Select the printer you want to use, then press OK to get back to the Print Queue screen. Then press Save and Close. Your new entry will now appear in the list of print queue options.
The above procedure will ensure your document is entered into the correct queue when it's placed in the report stack. If your reporter is running, the document will be printed automatically. If not you can print it manually as described in Printing documents in the report stack or you can select the Print from this station now option before confirming the action.