Take New Order

Contents
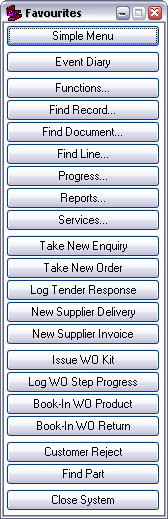
After starting Match-IT and performing the initial configuration, a ribbon menu will be shown in the top left of the desktop. It will look something like the one shown on the right here: Note: These menus are part of the preference settings you can setup. This one is just an example for use here. Pressing a button in these menus will either open a form, open a browse list or perform some action. Pressing the Take New Order button will open the form to allow a new sales order to be entered. We’ll do that now. |
|
A blank sales order form like the one below will be shown.

When we’re done, the area at the top will contain header information about the whole order and the area below will contain detail information about each item ordered.
We’ll start by selecting the customer. Pressing the ![]() by the Customer prompt is the first step.
by the Customer prompt is the first step.
The next step is to select the customer.