Setup your documents

Contents
Match-IT is supplied with a set of generic business documents that can be quickly tailored by you to reflect your company identity. There is also an integrated document editor that allows you to completely redesign all documents as you wish. However, the standard documents are useful for getting started. A wizard to guide you through the process of tailoring the standard documents was loaded by the Welcome wizard you ran earlier. Run that now by pressing Functions | Setup | Setup Documents… | Document Preferences (the Name1 | Name2 notation means press Name1 then press Name2, etc.). A screen will be shown to you that describes the document set-up wizard. Press Yes to confirm you want to run it now. The first page of questions will be shown to you. It will look similar to this:
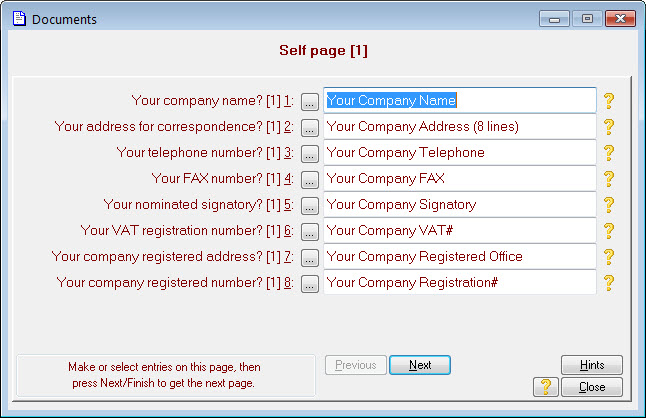
The prompts provide standard information to be printed on your documents. Press the ![]() icons to get an explanation of each field. Change the details to suit you. If you set a field to blank, the standard documents will skip the field. An example document showing where all these fields go will be given in a moment. Press Next when you are ready to go to he next set of prompts. The next page of prompts allows you to set a pair of logos for your paperwork. The page will look similar to this:
icons to get an explanation of each field. Change the details to suit you. If you set a field to blank, the standard documents will skip the field. An example document showing where all these fields go will be given in a moment. Press Next when you are ready to go to he next set of prompts. The next page of prompts allows you to set a pair of logos for your paperwork. The page will look similar to this:

The logos can be in a wide variety of graphics formats, including scanned images (i.e. tiff files). If you haven’t got a suitable graphic to hand, set the fields blank for now. Press Next when you are ready to go to he next set of prompts. The next page of prompts allows you to set standard text to print on your documents. The page will look similar to this:
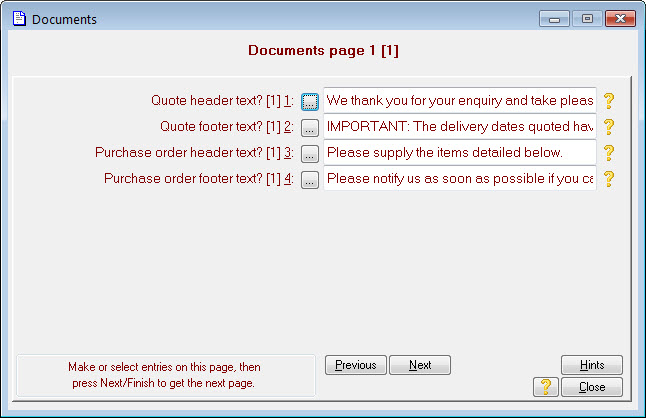
The header and footer text prompts allow you to set a standard message on each of the respective documents. Press the ellipsis buttons to see and edit the text of the full message. Press Next when you have made the changes you wish. After a slight pause you will be presented with a similar page for other document types. Make your changes as required then press Next to go to the next page. The next page allows you to set the initial serial numbers to allocate to your documents. The page will look similar to this:
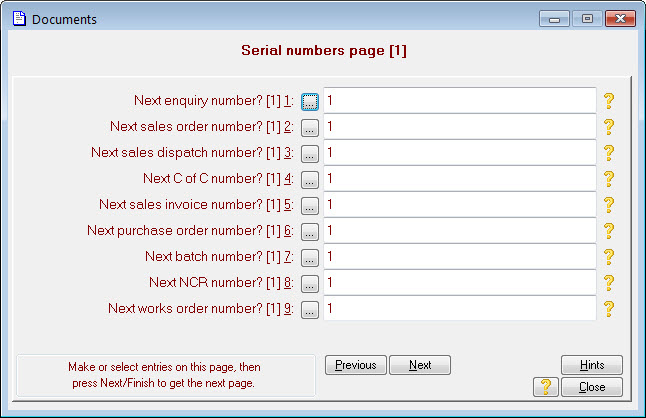
The system allocates a unique serial number to each document it creates. Each new document is given the next number in sequence. You can set the start position of the sequences by changing the numbers on this page. The system will use whatever number you set as the next one in sequence and will carry on from there. If you are currently operating a document-numbering scheme you can set the system to carry on in the same sequence by adjusting this page. Press Next when you have set your numbers. The final page in the wizard will be shown, similar to this one:
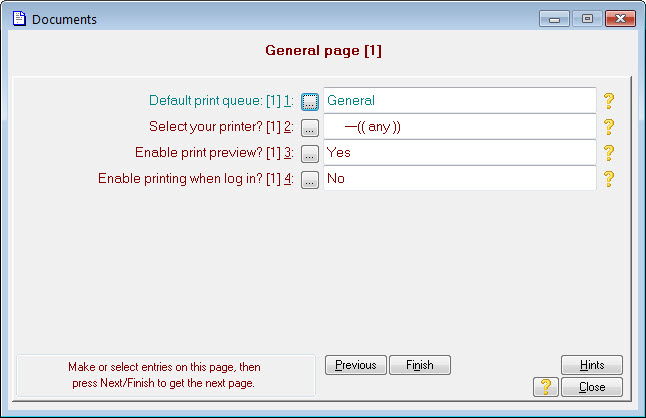
This page allows you to set the most usual printer to be used for your documents. The blue Default print queue: prompt is just showing you which queue is being set. You will learn more about print queues later. Pressing the ellipsis on the Select your printer? prompt will bring up the standard Windows™ printer selection dialog. If you leave this field blank, the system will use whatever your Windows default printer is set to whenever it wants to print a document.