Select Customer

Contents
These ![]() buttons are referred to as ellipsis buttons, pressing one will usually bring up a list to allow you to select a record. This one brings up a list of customers to pick from; like the one shown below.
buttons are referred to as ellipsis buttons, pressing one will usually bring up a list to allow you to select a record. This one brings up a list of customers to pick from; like the one shown below.
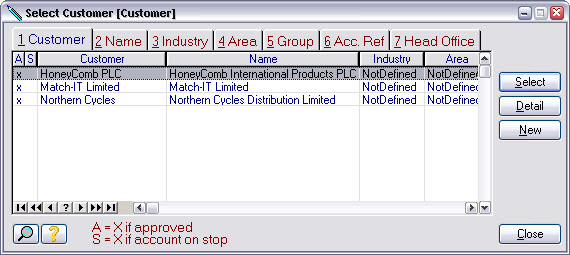
In a real system, there could be many 1000’s of entries in these pick lists. Match-IT provides several machanisms to quickly find entries in these lists; they are described in the User Guide so we won’t repeat it here.
One thing we will point out, however, is Match-IT’s ability to extend these lists ‘on-the-fly’. If a required entry is not in a list, for example when you receive an order from a customer you’ve not dealt with before, it can be added immediately by pressing the New button. This will bring up a form to allow you to enter the details for the new record. As soon as you close the form, the new record will be highlighted in the list, ready for selection.
We’ll continue now by just selecting an existing entry, the first one, HoneyComb PLC. Pressing the Select button enters the highlighted name into our sales order form.
The sales order form will now look something like the one shown below.
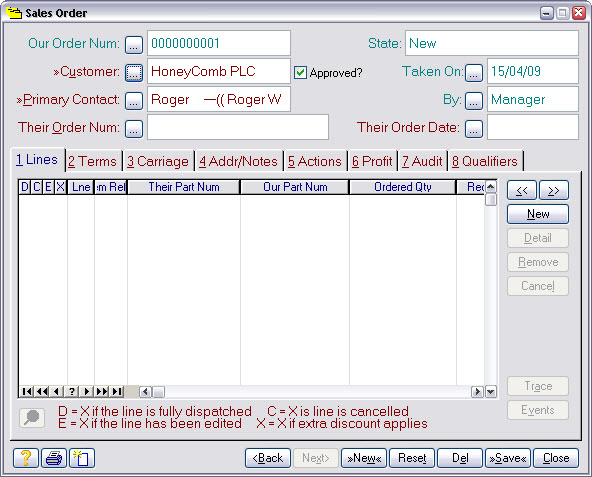
Notice the Primary Contact field has been filled in automatically. This is an example of a customer specific default. Pressing its ![]() will bring up a pick list of contacts for the selected customer, allowing you to override the default. Also note the Our Order Num: field has been allocated the next sales order number.
will bring up a pick list of contacts for the selected customer, allowing you to override the default. Also note the Our Order Num: field has been allocated the next sales order number.
One more thing to point out before we move on; the Taken On: and By: fields show when the order was taken and who took it. These are examples of the audit information Match-IT maintains.
The next step is to enter the customer’s order number.