Event Diary

Contents
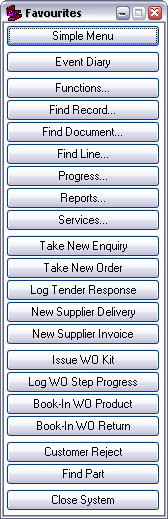
The event diary is so important within Match-IT that we’ll spend a bit of time exploring it before we move on to the actual order approval. Pressing the Event Diary button on the ribbon menu will open the event diary. |
|
If you’ve not done anything so far in Match-IT except follow this tour, the event diary will look something like this:
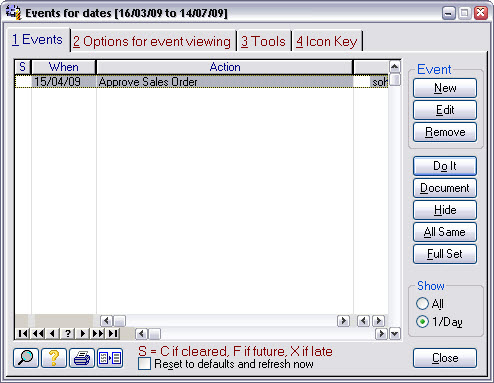
Notice the entry reminding us to approve a sales order. This is for the sales order we entered in part 1 of this tour.
The event diary is the master to-do list. Entries are put in, and taken out, automatically as you do things within Match-IT.
The event diary is used to remind you to do something, like approve a sales order, and also to remind you when something should happen, like receiving a delivery from a supplier. Each entry gives you a short description of the action required and the identity of the document involved. If you can’t see the document identity, stretch the width of the window until you can.
Note: Match-IT will open the window next time in the same place and at the same size as you leave it. Match-IT remembers these settings for each user independently, so you and your colleagues can have different preferences.
If your display has sufficient room, it is recommended to set the event diary so it looks something like this in the top right of your Match-IT desktop:
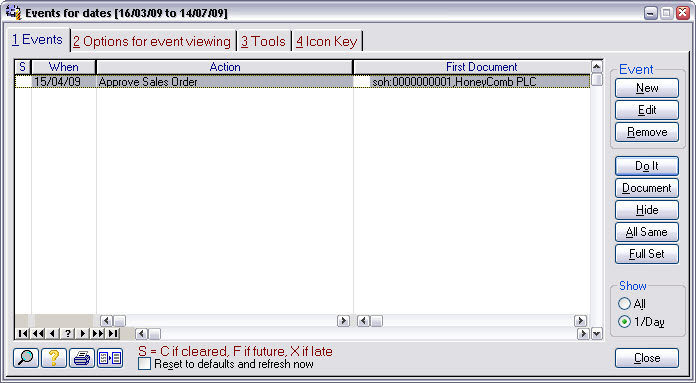
Each event diary entry provides direct access to the document involved and also the appropriate part of the system to perform the required action. Pressing the Document button will open the document, and pressing the Do It button will allow you to perform the action. Note: The Do It button is just a short cut; you can also navigate the menus to get to the same place.
The entries in the diary are referred to as tickles and are shown to you in earliest date first order. Tickles associated with actions that haven’t been done yet are referred to as active tickles. The diary usually only shows you active tickles. In a live system there may be a large number of active tickles, which could be overwhelming if viewed all at once. Most users are only concerned with certain aspects of your overall operation, and as a consequence are only interested in certain types of event diary entries. Match-IT allows each user, or their supervisor, to set the event types of interest to them. This is done from the Options tab in the event dairy.
The benefits of using the diary efficiently are significant, so we’ll show you how you can set the options. Clicking on the Options for event viewing tab will show you a page where you can make your selections.
The options tab looks like this:
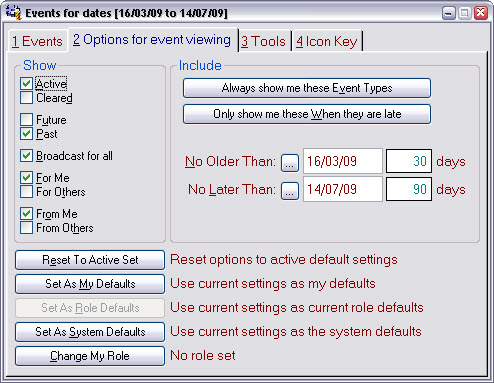
The check boxes and dates show some of the current settings. The most important settings are the events. Pressing the Always show me these Event Types button brings up a form that allows you to choose which events you wish to see in your diary.
The events selection form looks like this:
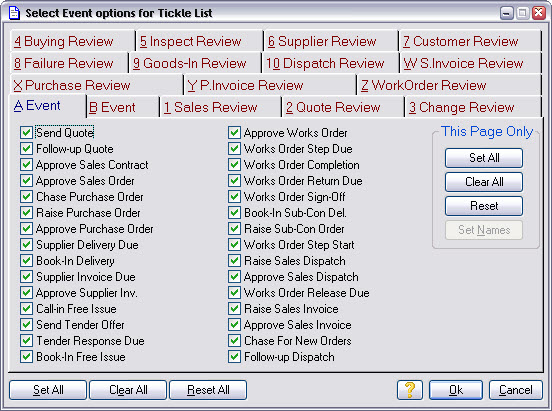
There are 480 events types available, 16 pages of 30 each. The first 2 pages (A & B) are predefined; the other 14 are definable by you. They can be used to enforce your quality procedures.
The diary will show all events that have a tick in their check box. For the purposes of this tour, leave the selections as they are.
Press Cancel to return to the options form and then click on the Events tab to return to the diary.
We’re done exploring the diary. We’ll now move on to approving our sales order. The first step is to press the Do It button while the Approve Sales Order item is highlighted.